MLflow
MLflow 是一个开源平台,专为协助机器学习从业者和团队处理机器学习过程的复杂性而构建。MLflow 专注于机器学习项目的完整生命周期,确保每个阶段都易于管理、可追溯且可复现。
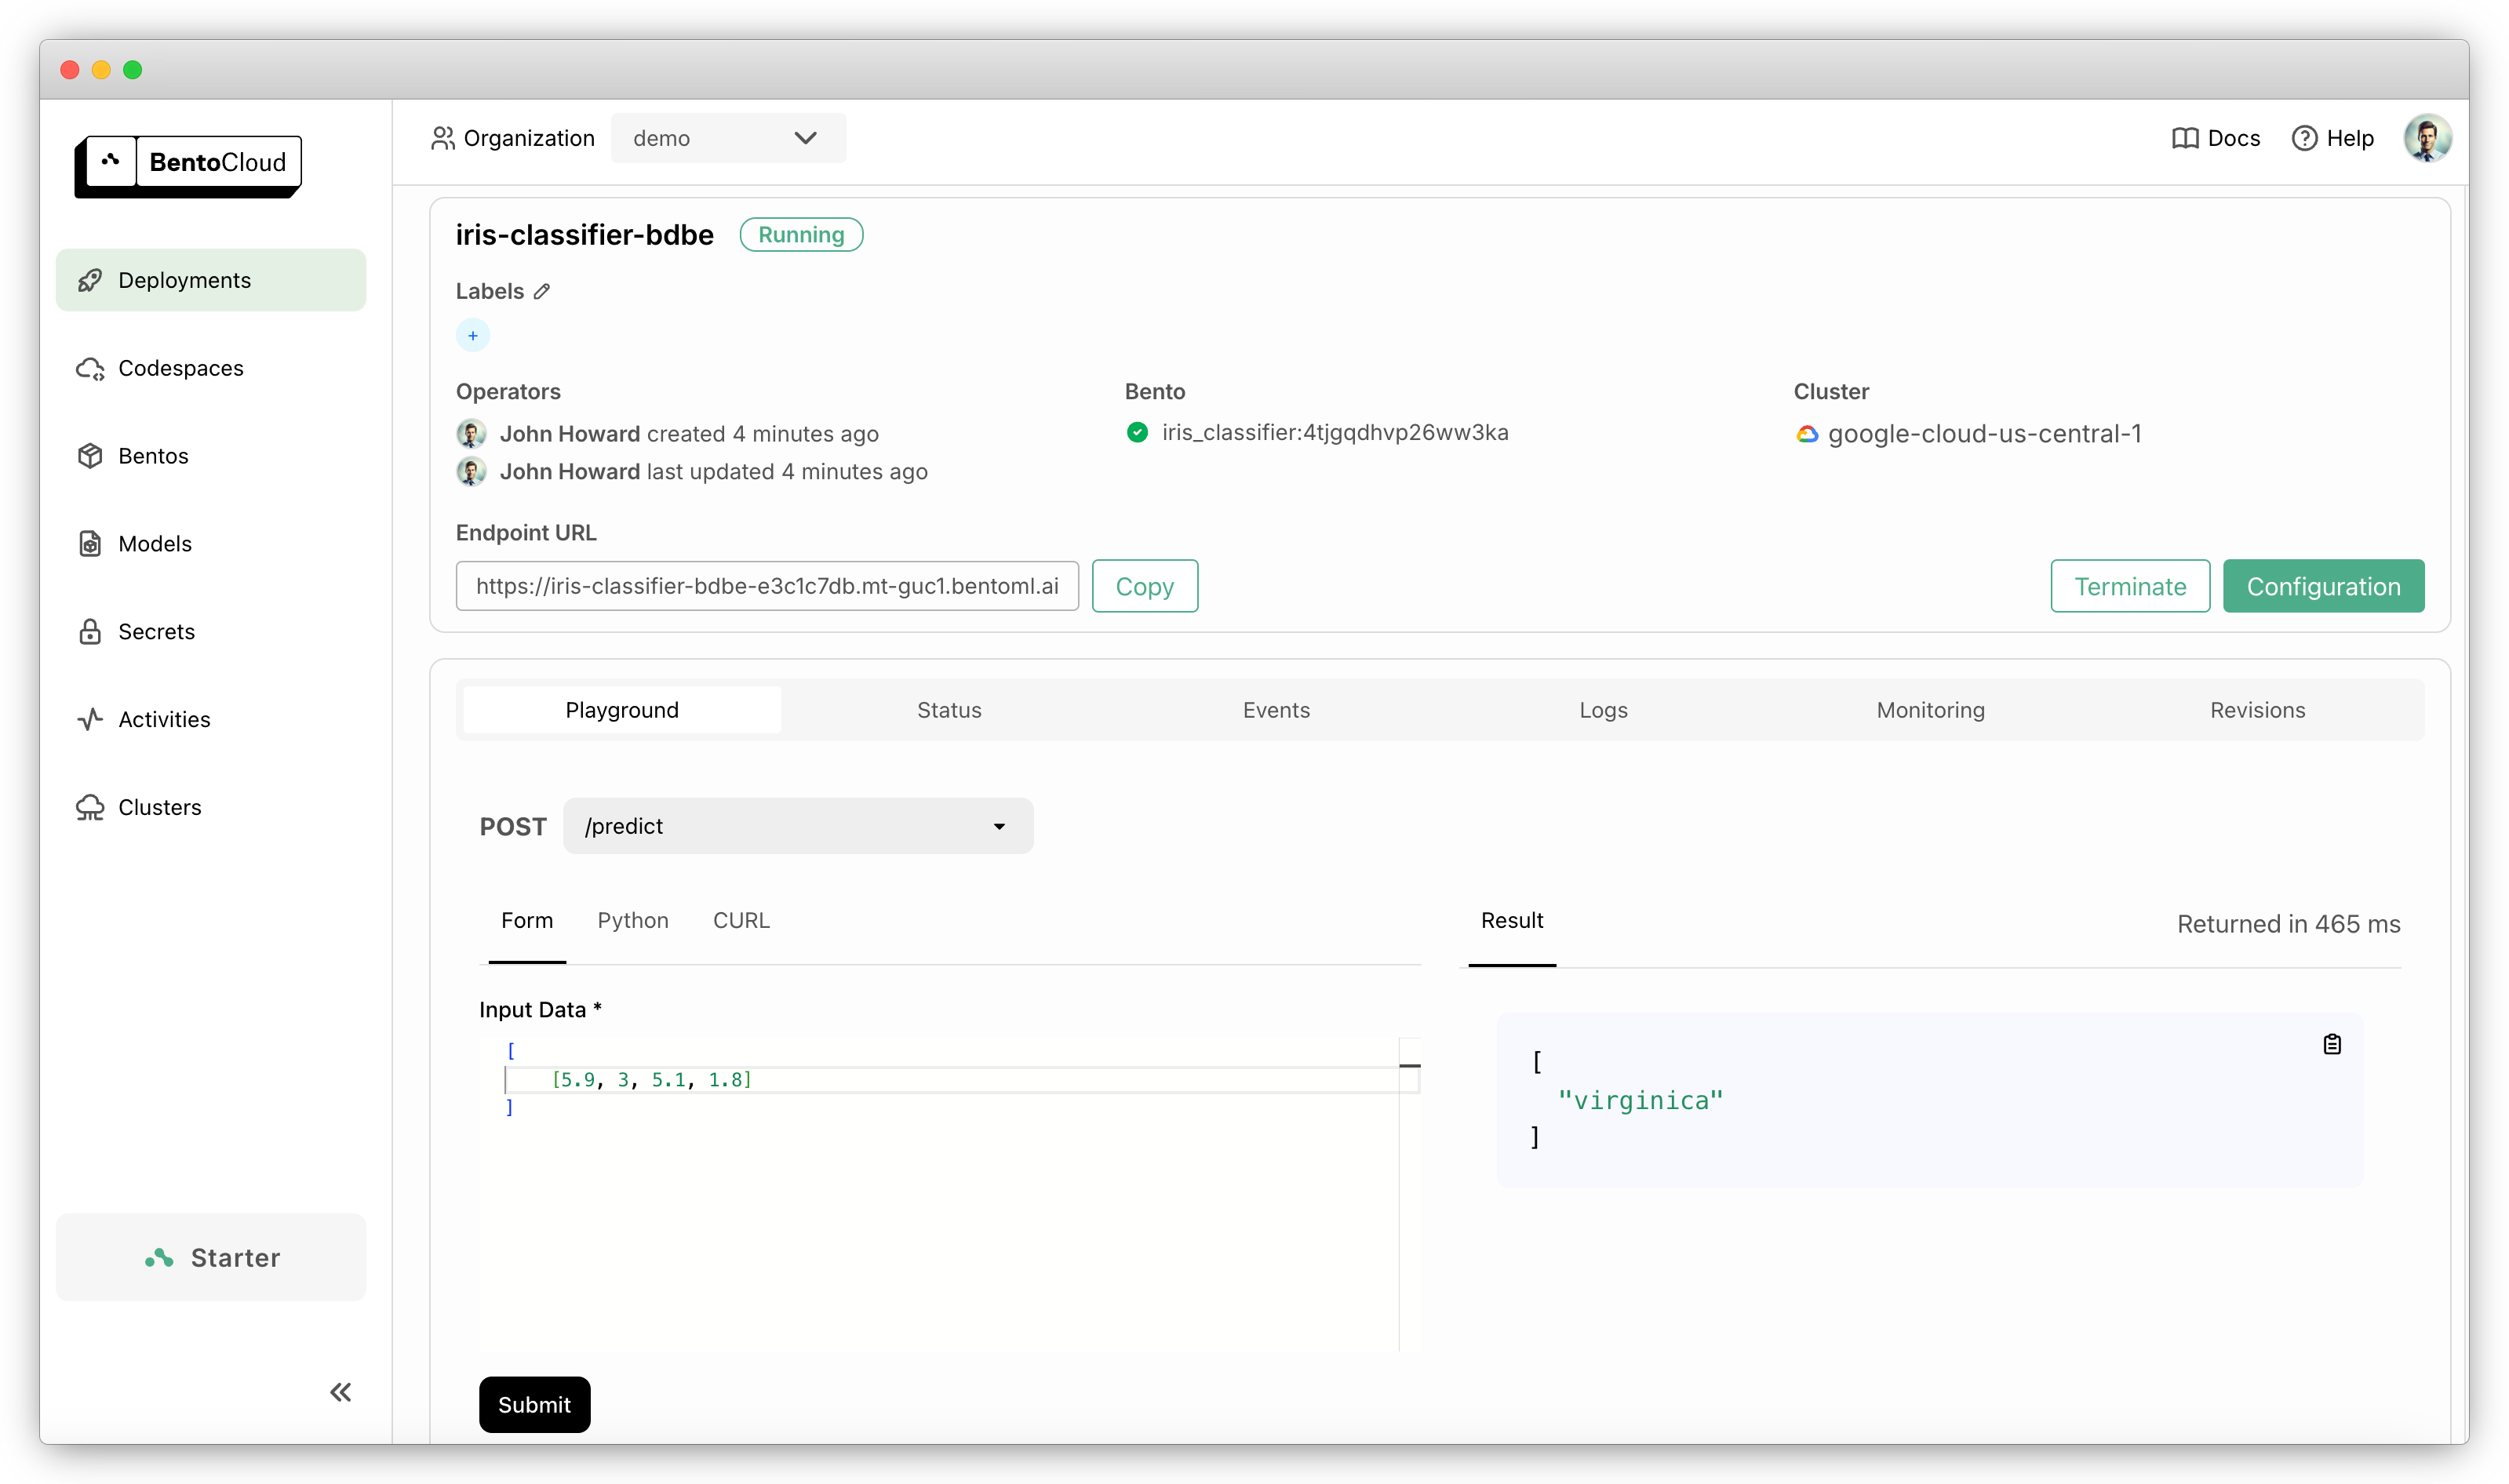
本文档解释了如何使用 BentoML 服务和部署 MLflow 模型。

此示例使用 scikit-learn 进行演示。您可以向端点提交分类请求,如下所示
{
     "input_data": [[5.9,3,5.1,1.8]]
}
预期输出
["virginica"]
除了 scikit-learn,MLflow 和 BentoML 都支持各种其他框架,例如 PyTorch、TensorFlow 和 XGBoost。
此示例已准备好在 BentoCloud 上快速部署和扩展。只需一条命令,即可获得具有快速自动扩缩容、在您的云中安全部署以及全面可观测性的生产级应用程序。
代码解释
您可以在 GitHub 中找到源代码。下面是此项目中关键代码实现的细分。
save_model.py
此示例使用 scikit-learn 框架训练一个分类模型,并使用 MLflow 进行保存。
from sklearn.datasets import load_iris
from sklearn.neighbors import KNeighborsClassifier
from pathlib import Path
import mlflow.sklearn

iris = load_iris()
X_train = iris.data[:, :4]
Y_train = iris.target

model_uri = Path("models", "IrisClf")
model = KNeighborsClassifier()
model.fit(X_train, Y_train)
mlflow.sklearn.save_model(model, model_uri.resolve())
训练完成后,使用 bentoml.mlflow.import_model API 将模型保存到 BentoML 模型库(一个用于存储和管理模型的本地目录)。稍后可以在其他服务中检索此模型以运行预测。
import bentoml

# model_uri can be any URI that refers to an MLflow model
# Use local path for demonstration
bentoml.mlflow.import_model("iris", model_uri)
要验证模型是否已成功保存,请运行
$ bentoml models list

Tag                      Module           Size       Creation Time
iris:74px7hboeo25fjjt    bentoml.mlflow   10.07 KiB  2024-06-19 10:09:21
test.py
为确保保存的模型正常工作,请尝试加载它并运行预测
import numpy as np
import bentoml

# Load the latest version of iris model
iris_model = bentoml.mlflow.load_model("iris:latest")

input_data = np.array([[5.9, 3, 5.1, 1.8]])
res = iris_model.predict(input_data)
print(res)
预期结果
[2] # The model thinks the category seems to be Virginica.
service.py
service.py 文件是定义服务逻辑并将模型公开为 Web 服务的地方。
import bentoml
import numpy as np

target_names = ['setosa', 'versicolor', 'virginica']

@bentoml.service(
    resources={"cpu": "2"},
    traffic={"timeout": 10},
)
class IrisClassifier:
    # Declare the model as a class variable
    bento_model = bentoml.models.BentoModel("iris:latest")

    def __init__(self):
        self.model = bentoml.mlflow.load_model(self.bento_model)

    @bentoml.api
    def predict(self, input_data: np.ndarray) -> list[str]:
        preds = self.model.predict(input_data)
        return [target_names[i] for i in preds]
Service 代码
使用
@bentoml.service装饰器定义 BentoML Service。您可以选择性地设置额外的 配置,例如 BentoCloud 上的资源分配和流量超时。从模型库中检索模型,并将其定义为类变量。
使用
@bentoml.api装饰器将predict函数公开为 API 端点。
@bentoml.service 装饰器还允许您定义 Bento 的运行时环境,Bento 是 BentoML 中的统一分发格式。Bento 打包了所有源代码、Python 依赖项、模型引用和环境设置,从而可以轻松地在不同环境中一致地进行部署。
这是一个示例
my_image = bentoml.images.Image(python_version="3.11") \
            .python_packages("mlflow", "scikit-learn")

@bentoml.service(
    image=my_image, # Apply the specifications
    ...
)
class IrisClassifier:
    ...
试试看
您可以在 BentoCloud 上运行此示例项目,或在本地提供服务,将其容器化为符合 OCI 标准的镜像并在任何地方部署。
BentoCloud
BentoCloud 提供了快速可扩展的基础设施,用于在云中构建和使用 BentoML 扩展 AI 应用。
安装依赖项并通过 BentoML CLI 登录到 BentoCloud。如果您没有 BentoCloud 帐户,请在此处免费注册。
# Recommend Python 3.11
pip install bentoml mlflow scikit-learn

bentoml cloud login
克隆仓库。
git clone https://github.com/bentoml/BentoMLflow.git
cd BentoMLflow
训练 MLflow 模型并将其保存到 BentoML 模型库。
python3 save_model.py将 Service 部署到 BentoCloud。
bentoml deploy service.py:IrisClassifier
部署并运行后,您可以通过以下方式调用端点
创建一个 BentoML 客户端来调用端点。请确保将部署 URL 替换为您在 BentoCloud 上的实际 URL。有关详细信息,请参阅获取端点 URL。
import bentoml

with bentoml.SyncHTTPClient("https://iris-classifier-bdbe-e3c1c7db.mt-guc1.bentoml.ai") as client:
      result = client.predict(
          input_data=[
              [5.9, 3, 5.1, 1.8]
          ],
      )
      print(result)
请确保将部署 URL 替换为您在 BentoCloud 上的实际 URL。有关详细信息,请参阅获取端点 URL。
curl -X 'POST' \
      'https://iris-classifier-bdbe-e3c1c7db.mt-guc1.bentoml.ai/predict' \
      -H 'accept: application/json' \
      -H 'Content-Type: application/json' \
      -d '{
      "input_data": [
          [5.9, 3, 5.1, 1.8]
      ]
  }'
为确保部署在一定副本范围内自动扩缩容,请添加扩缩容标志
bentoml deploy --scaling-min 0 --scaling-max 3 # Set your desired count
如果已部署,请按如下方式更新其允许的副本数
bentoml deployment update <deployment-name> --scaling-min 0 --scaling-max 3 # Set your desired count
有关更多信息,请参阅如何配置并发和自动扩缩容。
本地服务
BentoML 允许您在本地运行和测试代码,以便您可以使用本地计算资源快速验证代码。
克隆项目仓库并安装依赖项。
git clone https://github.com/bentoml/BentoMLflow.git
cd BentoMLflow

# Recommend Python 3.11
pip install bentoml mlflow scikit-learn
训练模型并将其保存到 BentoML 模型库。
python3 save_model.py在本地提供服务。
bentoml serve service.py:IrisClassifier
访问或向 https://:3000 发送 API 请求。
要在您自己的基础设施中进行自定义部署,请使用 BentoML 生成符合 OCI 标准的镜像。